Call Us: +91-7042640351, 9891868324

What Are the Steps to Connect Your HP Laptop to A Projector
By Admin | 04 Jun 2024
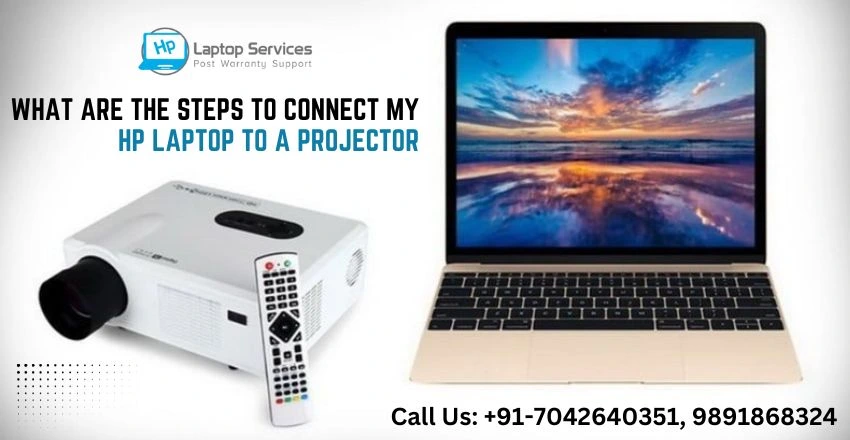
Connecting your HP laptop to a projector can open up a world of possibilities, whether you're giving a presentation at work, enjoying a movie night at home, or sharing photos with friends and family. However, the process of connecting these devices may seem daunting at first. In this guide, we will walk you through the essential steps to seamlessly connect your HP laptop to a projector, ensuring a smooth and successful projection experience. From checking compatibility and gathering the necessary cables to adjusting display settings and troubleshooting common issues, this article provides a comprehensive overview to help you make the most out of your projection setup.
Check Compatibility and Requirements
Before you start plugging cables like a mad scientist, it's essential to check if your HP laptop and the projector are compatible dance partners. Also, make sure you have all the necessary cables and adapters to bridge the gap between the two.
- Reviewing Laptop and Projector Compatibility: Like a matchmaker for gadgets, ensure your HP laptop and the projector can boogie together. Compatibility is key to avoiding any tech tantrums during your presentation.
- Gathering Necessary Cables and Adapters: Just like how cheese needs crackers, your laptop needs the right cables and adapters to connect to the projector. Make sure you've got the right tools in your tech toolbox before you kick off the party.
Steps to Connect Your HP Laptop to a Projector
- Check Your Connections: Before you begin, make sure you have the necessary cables to connect your HP laptop to the projector. Typically, you will need an HDMI or VGA cable.
- Turn on Your HP Laptop: Power up your HP laptop and wait for it to fully boot up before proceeding with the connection.
- Connect the Cable: Take one end of the cable and plug it into the appropriate port on your HP laptop. For newer models, this may be an HDMI port. For older laptops, you may need to use a VGA port.
- Connect the Projector: Locate the corresponding port on the projector and plug in the other end of the cable.
- Set Up the Projector: Turn on the projector and switch to the correct input source. This can usually be done using the remote control or buttons on the projector itself.
- Adjust Display Settings: On your HP laptop, navigate to the display settings. You can usually access this by right-clicking on the desktop and selecting "Display Settings" or "Graphics Properties."
- Select the Projector as the Display: In the display settings, choose the option to extend or duplicate your display. Select the projector from the list of available displays.
- Adjust Resolution: Depending on the projector's resolution, you may need to adjust your laptop's display settings to match. This can help ensure the best possible picture quality.
- Final Checks: Once everything is connected and set up, do a quick test to make sure the connection is working properly. Play a video or open a presentation to confirm that it is displaying correctly on the projector.
- Enjoy the Show: Congratulations! You have successfully connected your HP laptop to a projector. Sit back, relax, and enjoy your movie, presentation, or any other content you wish to share.
Connecting your HP laptop to a projector doesn't have to be a daunting task. By following these simple steps, you can easily set up your laptop for a seamless viewing experience. Whether you're giving a presentation at work or hosting a movie night at home, knowing how to connect your laptop to a projector is a valuable skill to have. So, go ahead and give it a try - you'll be amazed at the results!
Laptop Not Working? Get Expert Repairs Near You in No Time


Looking For A Fast & Reliable Laptop Repair Service
We have professional technicians, fast turnaround times and affordable rates. Book Your Repair Job Today!
We specialize in all types of laptop services and provide reliable and quality door step service to our clients