Call Us: +91-7042640351, 9891868324

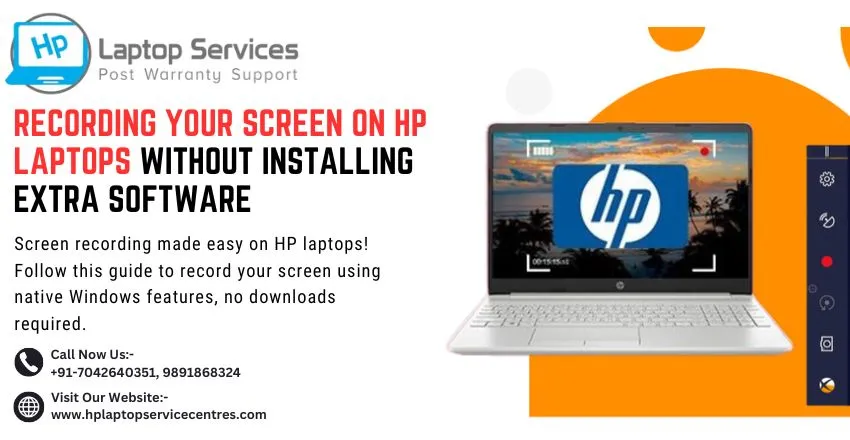
Recording Your Screen on HP Laptops Without Installing Extra Software
By Admin | 26 Sep 2024
Need to capture your screen for a presentation, tutorial, or troubleshooting guide? Many HP laptop users assume they need to download special software for screen recording—but that’s not always true.
Installing third-party screen recording software can be time-consuming, costly, and even risky due to potential malware. Plus, you might not need all the extra features that come with those programs.
The good news? You don’t need to install any extra software! Your HP laptop already comes with built-in tools that allow you to record your screen quickly and efficiently. In this guide, we’ll show you how to leverage these features and start screen recording with ease.
Using the Windows Game Bar
The Windows Game Bar is a powerful, built-in tool designed for recording gameplay, but it works just as well for any screen recording task on your HP laptop.
Steps to Record with Windows Game Bar:
- Step 1: Press Windows Key + G to open the Game Bar.
- Step 2: You’ll see an overlay with various options. Click on the Capture button, which looks like a camera icon.
- Step 3: Press the Start Recording button (a circle icon) or use the shortcut Windows Key + Alt + R to begin recording.
- Step 4: Once you’re done, press Windows Key + Alt + R again to stop recording.
- Step 5: The video will automatically be saved in the Videos > Captures folder.
Key Features of Windows Game Bar:
- Audio Recording: It can capture system audio or microphone input, perfect for tutorials.
- Performance Monitoring: You can monitor CPU and GPU usage during the recording.
- Shortcuts: Quick keyboard shortcuts for starting and stopping recordings make it user-friendly.
Limitations:
- The Game Bar does not allow recording on certain apps like File Explorer or desktop screens.
- It is limited in terms of advanced features like video editing or screen annotations.
Recording with Microsoft PowerPoint
Surprisingly, PowerPoint also offers a built-in screen recording feature, ideal if you want to add the video directly to your presentations or save it as a separate file.
Steps to Record with PowerPoint:
- Step 1: Open PowerPoint and go to the slide where you want to add your recording.
- Step 2: Go to the Insert tab and click Screen Recording on the far right.
- Step 3: A new toolbar will appear. Select the area of the screen you want to record or click to record the full screen.
- Step 4: Click the Record button to begin capturing.
- Step 5: When finished, move your mouse to the top of the screen to reveal the toolbar and click Stop.
- Step 6: The recording will be embedded directly into the PowerPoint slide. You can also right-click the video and select Save Media As to save it as a separate MP4 file.
Advantages of Using PowerPoint:
- Easy to Share: You can directly integrate the recording into a PowerPoint presentation.
- No Additional Software: It’s an excellent option if you already use PowerPoint and don’t want to install anything else.
Limitations:
- Limited recording controls and options for high-quality customization.
- No direct options for editing the recording, though it can be trimmed within PowerPoint.
Using Microsoft’s Built-in Steps Recorder
While not a full-fledged screen recording tool, Steps Recorder is useful for capturing screenshots and detailed steps during a task.
Steps to Use Steps Recorder:
- Step 1: Search for Steps Recorder in the Windows search bar.
- Step 2: Open the app and click Start Record.
- Step 3: Go through the steps you want to record. Each action you take will be captured in a detailed, step-by-step format.
- Step 4: Click Stop Record once finished.
- Step 5: Save the recording as an MHT file, which is a document that can be shared or reviewed.
Best For:
- Documenting detailed actions for troubleshooting or sharing technical instructions.
Limitations:
- Does not record video but provides a series of screenshots and written descriptions of each action taken.
Using Windows 11 Snipping Tool for Short Clips
If you’re using Windows 11 on your HP laptop, the Snipping Tool has been upgraded to include screen recording functionality (expected in future updates).
Steps to Record with Snipping Tool:
- Step 1: Open the Snipping Tool from the start menu.
- Step 2: Select the new Record option.
- Step 3: Choose the area of the screen you want to record.
- Step 4: Click the Start Recording button to capture your screen.
- Step 5: Once finished, click Stop and save your recording.
This feature is best for capturing quick recordings, like walkthroughs or app usage, without installing a separate app.
Our Support Cities :- Delhi | Noida | Gurgaon | Ghaziabad | Faridabad | Greator Noida | Mumbai | Pune | Kolkata | Ahmedabad
Conclusion
Recording your screen on an HP laptop without installing additional software is both easy and efficient, thanks to built-in tools like the Windows Game Bar, PowerPoint, Steps Recorder, and even the Snipping Tool in Windows 11. While these tools might not offer the advanced features of dedicated screen recording software, they provide more than enough functionality for basic screen capture tasks. Whether you're creating tutorials, documenting processes, or capturing important video content, these native options make screen recording hassle-free on your HP laptop.


Looking For A Fast & Reliable Laptop Repair Service
We have professional technicians, fast turnaround times and affordable rates. Book Your Repair Job Today!
We specialize in all types of laptop services and provide reliable and quality door step service to our clients