Call Us: +91-7042640351, 9891868324

How to Fix Slow SSD Performance on HP Laptops: A Guide
By Admin | 01 Oct 2024
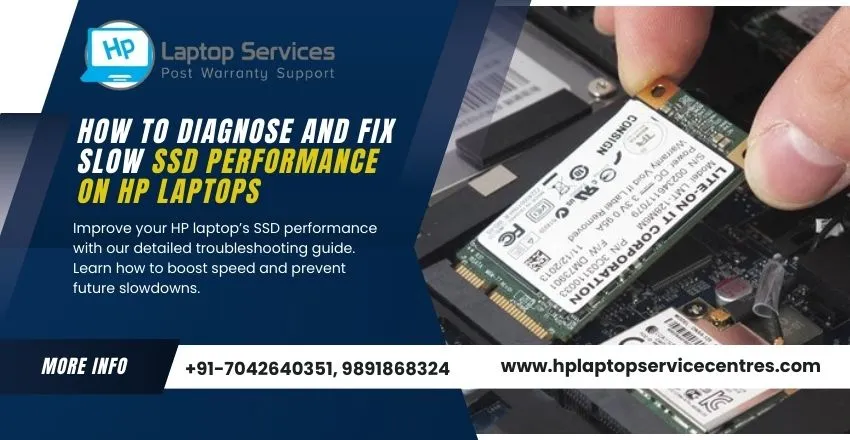
Is your HP laptop not running as fast as it used to, despite having an SSD? You’re not alone! Many HP users encounter sluggish SSD performance, which can be frustrating when you expect speed and efficiency.
An SSD is supposed to be faster than traditional hard drives, but over time, it can slow down due to various issues such as file corruption, outdated firmware, or improper settings. When your SSD runs slow, everything from boot times to application performance suffers, making even simple tasks take longer than they should.
In this guide, we’ll walk you through how to diagnose the root cause of your SSD slowdown and provide step-by-step instructions to fix it. By the end, you’ll know exactly how to restore your HP laptop’s SSD to peak performance, ensuring your laptop runs smoothly once again.
Step 1: Check Available Storage Space
One of the most common reasons for a slow SSD is low available storage. SSDs require free space for optimal performance. If your drive is nearing full capacity (typically above 85%), you may notice a significant slowdown.
How to Check Storage Space:
- Open File Explorer and navigate to "This PC."
- Look at your SSD’s storage bar under the “Devices and drives” section.
- If the bar is red or almost full, it's time to free up space.
Fix:
- Delete unnecessary files such as old downloads, temporary files, and large unused applications.
- Use HP’s built-in storage optimization tools or third-party software to clear junk files and temporary cache data.
Step 2: Disable Startup Programs
Excessive startup programs can strain your SSD by using valuable resources immediately after boot. Disabling unneeded programs can improve boot times and overall performance.
How to Disable Startup Programs:
- Press Ctrl + Shift + Esc to open Task Manager.
- Navigate to the Startup tab.
- Review the list of programs and disable any that are unnecessary by right-clicking and selecting "Disable."
Step 3: Update SSD Firmware
Outdated SSD firmware can cause compatibility issues or reduce performance. Keeping your SSD's firmware up to date ensures it runs optimally with the latest bug fixes and performance improvements.
How to Update Firmware:
- Identify your SSD model by pressing Windows + R, typing msinfo32, and looking under “Components > Storage > Disks.”
- Visit the SSD manufacturer’s website or HP’s support page for the latest firmware update instructions.
- Follow the on-screen prompts to update your SSD’s firmware.
Step 4: Check for Driver Updates
Like firmware, outdated drivers can affect SSD performance. Ensure your laptop is using the most recent drivers for optimal functioning.
How to Update SSD Drivers:
- Press Windows + X and select Device Manager.
- Expand the Disk Drives section, right-click your SSD, and select Update Driver.
- Choose Search automatically for updated driver software and let Windows handle the rest.
Alternatively, you can use HP’s Support Assistant tool to automatically detect and update the necessary drivers.
Step 5: Optimize SSD Settings
There are a few tweaks you can make within Windows to enhance SSD performance.
Disable Disk Indexing:
- Open File Explorer, right-click your SSD, and select Properties.
- Uncheck the box next to Allow files on this drive to have contents indexed and apply it.
Enable TRIM Command:
The TRIM command ensures the SSD can properly manage deleted data and maintain performance over time.
- Open Command Prompt as an administrator.
- Type fsutil behavior query DisableDeleteNotify and press Enter.
- If the response is 0, TRIM is enabled; if it's 1, you need to enable it.
- To enable TRIM, type fsutil behavior set DisableDeleteNotify 0.
Step 6: Run HP Hardware Diagnostics
HP laptops come with built-in diagnostic tools that can help identify hardware issues, including those with your SSD. Running these tools can provide insights into the SSD’s health and help determine if it needs replacement.
How to Run Diagnostics:
- Press Esc repeatedly when starting your laptop to access the Startup Menu.
- Press F2 to open the HP PC Hardware Diagnostics menu.
- Select System Tests > Fast Test or Comprehensive Test and follow the instructions to test your SSD.
Step 7: Check SSD Health with Third-Party Tools
To get more in-depth information about your SSD's health, you can use third-party software like CrystalDiskInfo or Samsung Magician. These tools provide detailed information about read/write speeds, wear leveling, and overall SSD health.
How to Use Third-Party Tools:
- Download and install a trusted SSD health monitoring tool.
- Run the software and check the health metrics of your SSD.
- If the health is poor, consider backing up your data and replacing the SSD.
Step 8: Reinstall Windows (as a Last Resort)
If none of the above steps resolves the issue, reinstalling Windows might be the solution. Over time, software bloat, registry errors, and malware can degrade SSD performance.
How to Reinstall Windows:
- Back up all your important files to an external drive or cloud storage.
- Use the Windows Media Creation Tool to create a bootable USB drive.
- Boot from the USB and follow the on-screen instructions to reinstall Windows.
Conclusion
Sluggish SSD performance on your HP laptop doesn’t mean you need to replace your SSD immediately. By following these steps, you can diagnose the root cause and often fix the issue without needing expensive repairs or replacements. If the problem persists after trying these solutions, it may be time to consult a professional or consider upgrading to a new SSD.
Take action today and restore your HP laptop's blazing speed!
Our Support Cities :- Delhi | Noida | Gurgaon | Ghaziabad | Faridabad | Greator Noida | Mumbai | Pune | Kolkata | Ahmedabad


Looking For A Fast & Reliable Laptop Repair Service
We have professional technicians, fast turnaround times and affordable rates. Book Your Repair Job Today!
We specialize in all types of laptop services and provide reliable and quality door step service to our clients